Hello! Happy Wednesday!
Today I have an aside to my Storage Solutions Series for you– how to store your Happy Planner stickers! I started making my own sticker storage books early last year. I love them! I now have 3 full ones…
I have went back & forth as to whether I like the books as they come, or if it’s easier to flip through a sticker book on discs. I think I really prefer the books on discs. I can arrange the pages of the books however I want, and I can give each book its own theme.
Keep reading to learn how to make your own sticker book! First, grab your sticker book. Take out all the pages (don’t be scared!). Arrange them how you think you will flip through them. It could be still storing all of the same book together, or you could separate books by theme (i.e. quotes, boxes, symbols).
Next, grab some cardstock. I use the 8 1/2 x 11 cardstock packs from Michaels. Cut them down to 6 inches wide by 9 inches tall. Then, punch them with your Happy Planner punch.
 If you need to invest in a Happy Planner punch, I suggest just getting the large pink one because it can punch all three sizes of Happy Planner pages: the Mini, Classic, and the Big.
 Sorting through the pages…
 Next, glue the sheet onto the cardstock. Align it almost to the edge of the paper.
Gluing tip: I use either an adhesive tape runner or a glue stick. Only glue on the top & bottom edges of the sticker sheet so you can still “bend” the sticker sheet to get the stickers off.
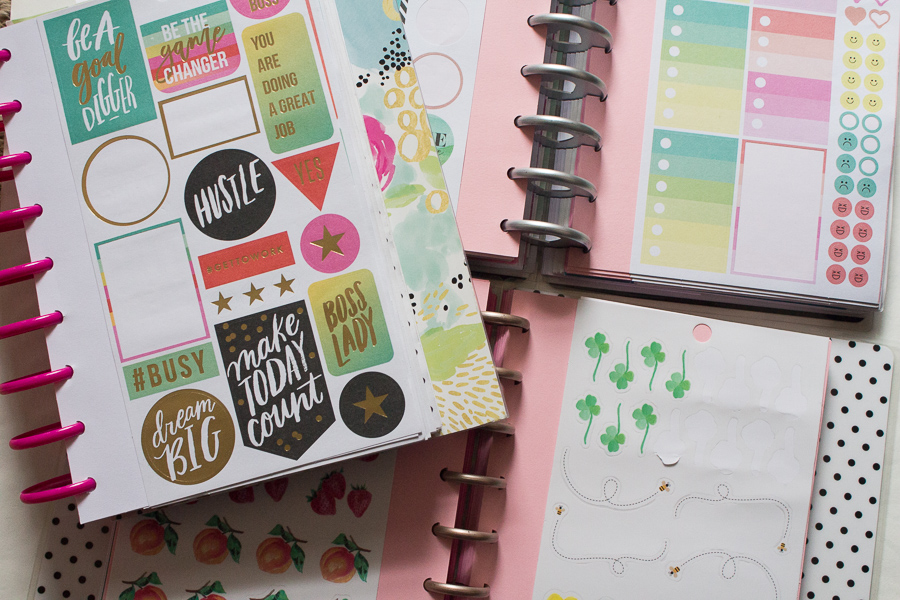
 Here’s what the final product looks like:

 All 3 of my books!
 Hope this helps someone if you’re debating whether or not to make your own sticker book!
Thanks for stopping by today!


Leave a comment